Shantha Kumar T
Creating Conversational Assistants: Exploring Copilot Studio for Customised Chat Experiences
Welcome to our guide on using Copilot Studio to craft personalised chat interactions. In this article, we'll walk you through the process of creating a chatbot from scratch, tailored to your specific needs. From setting up the application to testing your conversation flow, we'll cover everything you need to know to get started. Let's dive in!
Copilot Studio is an end-end conversational AI platform or tool that empowers us to create and customize co-pilots using natural language or a graphical interface. With Copilot Studio, you can easily design, test, and publish co-pilots tailored to your specific needs for internal or external scenarios across various industries, departments, or roles.
In this blog, we’ll learn how to make a bot that asks questions over and over and then puts all the answers together at the end of the chat.
Navigate to Copilot studio with the url https://copilotstudio.microsoft.com/
Select Copilots from the Left Navigation
In the Copilots list page, click the New Copilot menu button
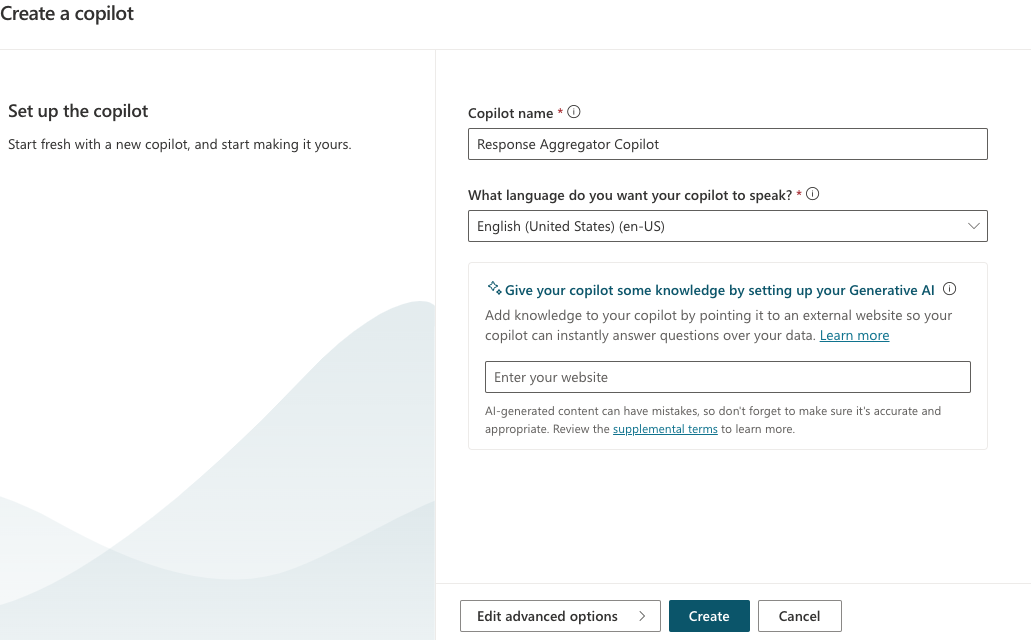
To give Copilot a name, type it in and then press the Create button to make a new chat app.
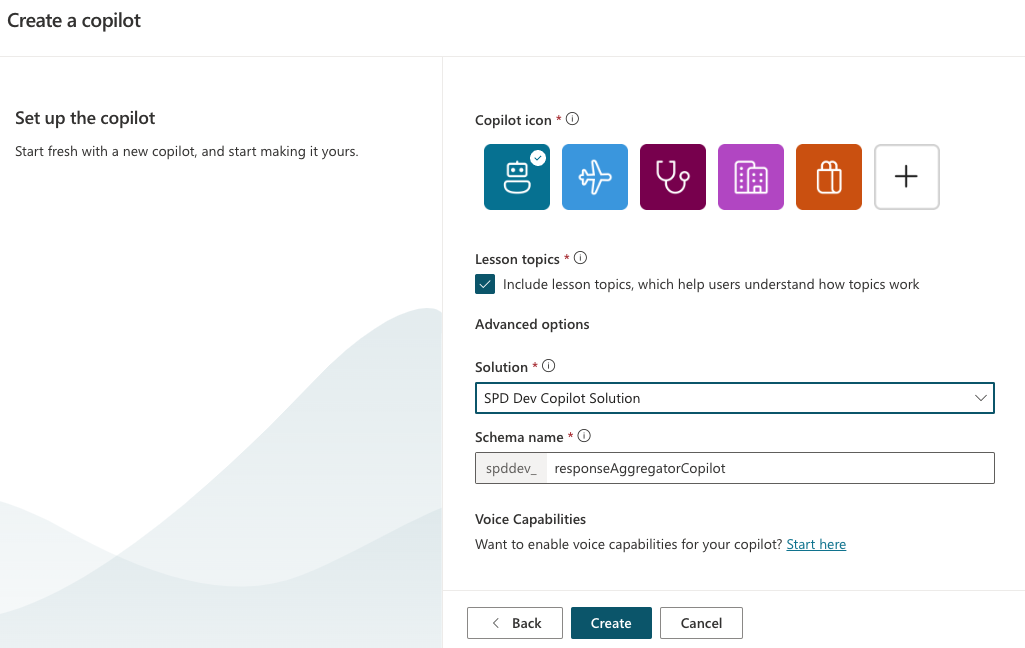
If you want to change the Icon, Solution name or Schema name, just click on the “Edit advanced options” button, type in the new details and then click “Create” to make your bot with those settings.
We need to wait for a few seconds for Copilot studio to setup the application.
Once the application is established, the next step involves creating a new topic tailored to our requirements. To begin,
-
- Start by navigating to the “Topics & Plugins” section found on the left-hand side of the screen.
- Proceed by clicking on the “Create” button, then select “Topic” and opt for “From blank” from the provided options.
- Assign a name to the topic, such as “Response Collector Topic” and confirm by pressing the Enter key.
We can also use Copilot to create a topic by, selecting the “Create a topic” button located in the “Add building blocks” section.
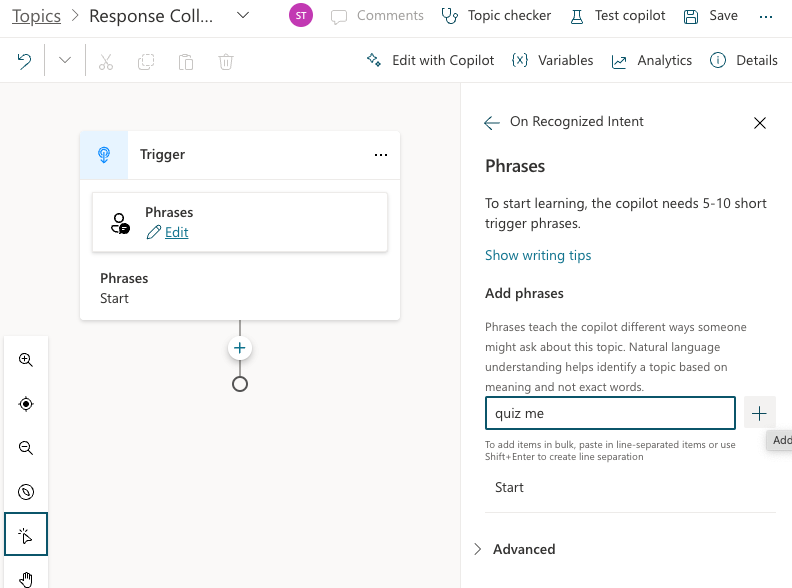
Upon initiating a blank topic, it will be generated with an empty trigger. To launch the conversation, it’s essential to input some initial phrases. Common choices include “Start” or “Quiz me”. Additional phrases can be added as needed.
Remember to save any modifications made to the topic by clicking on the “Save” button.
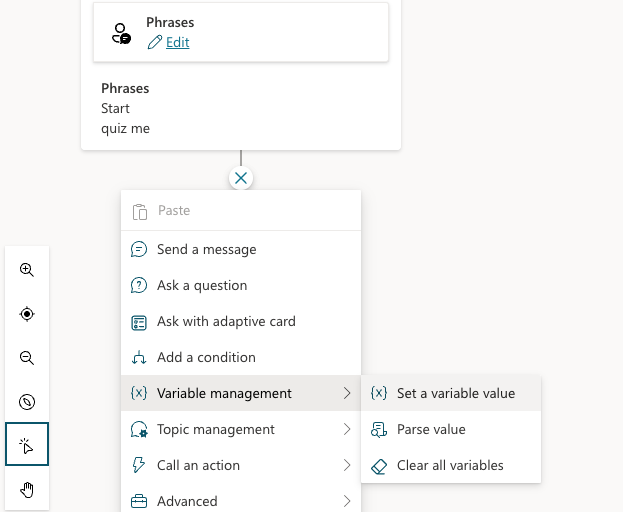
Next, proceed by clicking on the “+” icon adjacent to the trigger. From the context menu, select the “Set a Variable value” action under the “Variable Management” option.
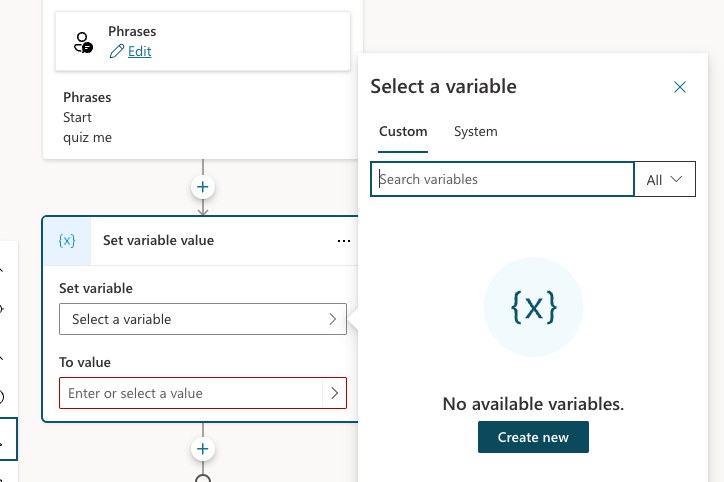
Click on the “Create” button or select the “Create a new variable” option to generate a variable. By default, variables are named as “var1” upon creation.
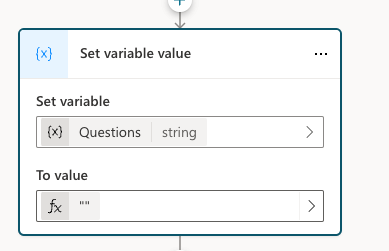
To modify the variable, select the variable within the “Set a variable value” action. Then, in the right panel that appears, rename the variable to “Questions”. Afterwards, set the value to empty quotation marks (“”) in the formula bar provided for the variable.
Next, click on the “+” icon and insert the “Ask a Question” action. Fill in the required fields as follows,
-
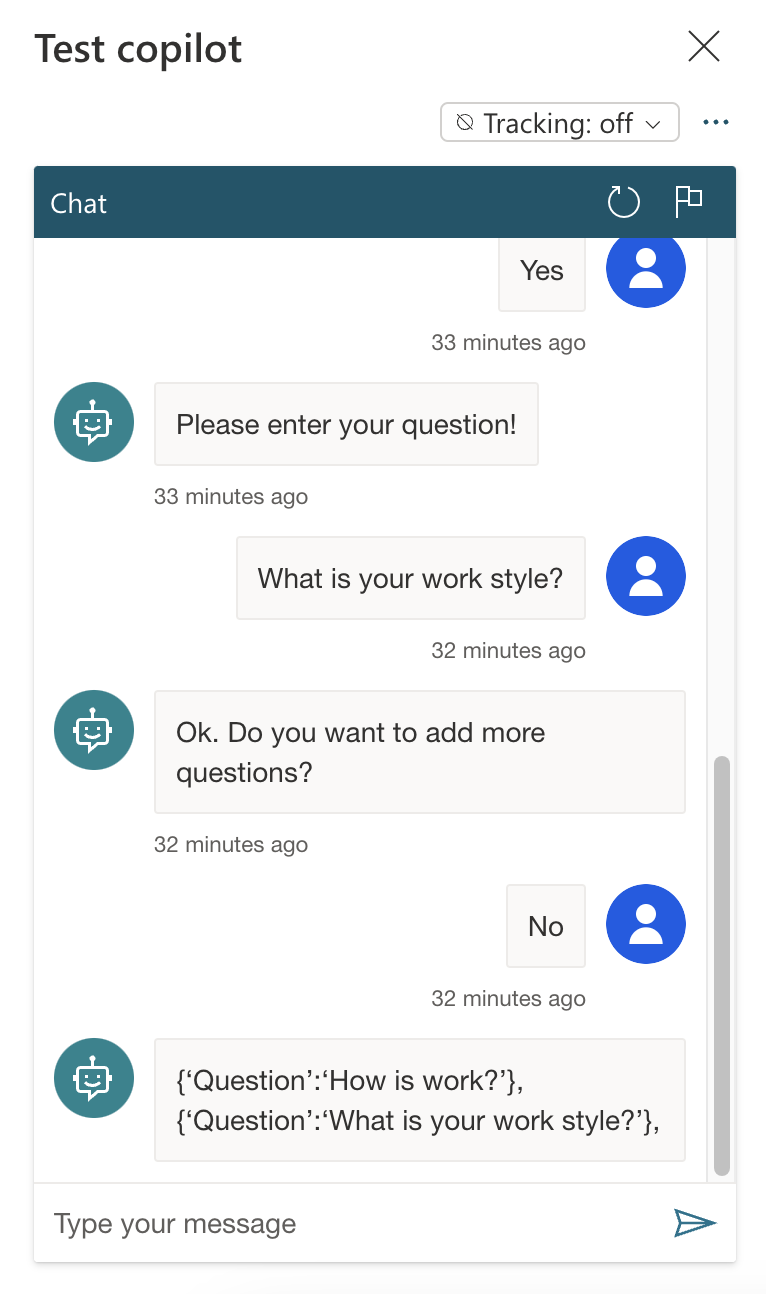
- In the Message Editor, type: “Please enter your question!”
- For Identify, select: User’s entire response
- Save user response as: Question (create new variable)
Subsequently, include an action named “Parse value” to concatenate the response in JSON format. Specify the following details:
-
- Parse value (add as formula):
Concatenate(Topic.Questions,"{'Question':'",Topic.Question,"'},") - Data type: String
- Save as: Questions
- Parse value (add as formula):
Add another “Ask a Question” action and provide the following details:
-
- In the Message Editor, type: Ok. Do you want to add more questions?
- For Identity, select: Boolean
- Save user response as: boolResponse
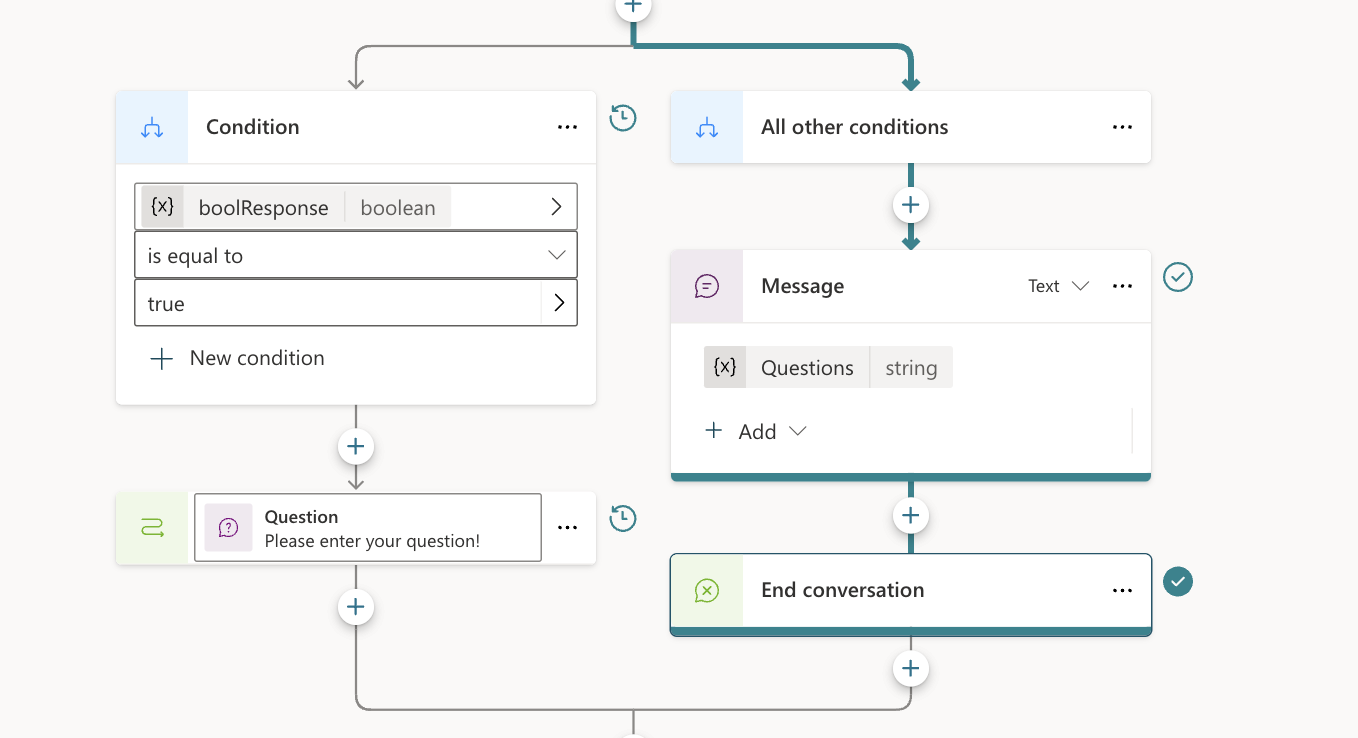
Then, insert an action named “Add a condition” and specify the details:
-
- Select a variable: boolResponse
- Condition: is equal to
- Value (add as formula): true
Under the true condition, add an action called “Go to step” from Topic Management. Choose the step corresponding to the first “Ask a Question” action.
For the false response, incorporate a “Send a message” action. In the message editor box, select the Topic.Questions variable.
Conclude by adding the “End conversation” action.
With the topic creation now finished, proceed to click the “Save” button to save the topic.
To test the topic, utilize the Test Copilot window. Enter the value “Start” in the conversation input box and observe its functionality.